
The Violinist: Flying Papers
Updated: 4/15/24
CURRENT PROJECTSSENIOR THESIS: "THE VIOLINIST"
4/15/20245 min read
Collaboration Partner:
Emma Schaberg: https://www.emmaschaberg.website
Outsourced FX TD:
Kyle Lin: https://kylelinvfx.com
04/15/2024
This was the first version of the papers:

Notes:
There were only a few notes to fix. There were too many papers flying in the air so it would not make sense. The papers were going too fast through and we wanted them to swoop closer to the camera and be more sporatic. The papers left one by one, so I needed to find a way to release more than one paper at a time.

This was the next iteration. Because the pop curve force is set by a curve, used a carve to rid of the end, having less force at the end when it reaches the camera. However, it would lose its momentum.


I was able to get the two papers to sim at the same time despite being made by different copy nodes. I assigned one of the copies the negative id of the other and changed the code to implement that.
This was the render with the speed and number of papers changed.
04/08/2024
Cleanup:
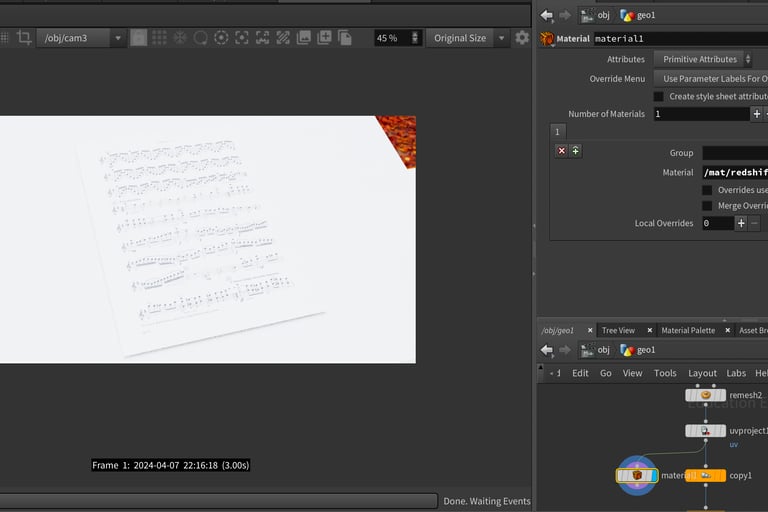
To make sure the UV's transferred properly, ready for an Unreal material, I checked the textures within redshift. Originally, the UV's were upside down and backwards, a UV Project node allowed me to control the layout of the texture. When I exported, I made sure to include the UV attribute.
UVS:
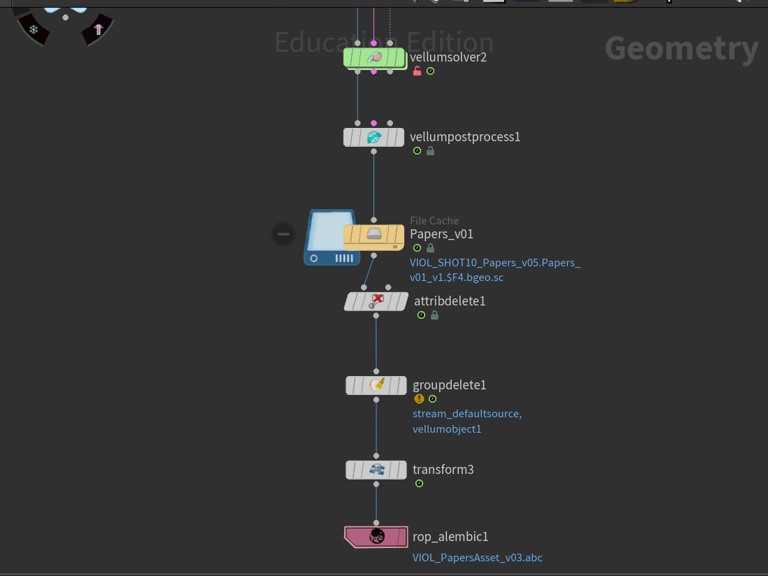
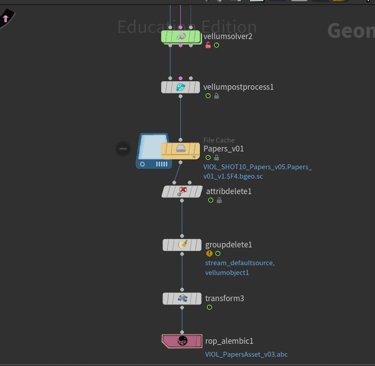
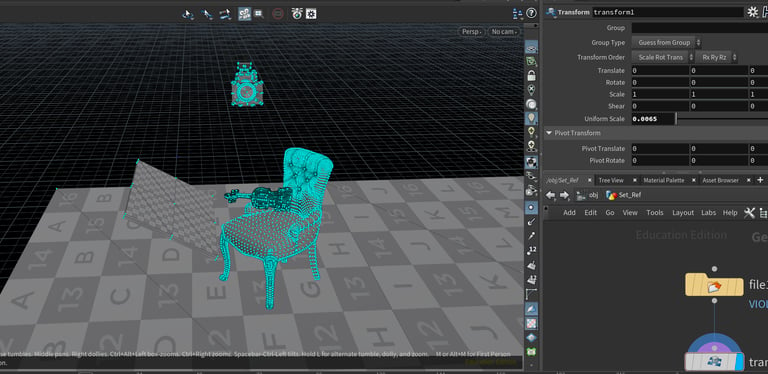
Because this is using vellum and had geometry with UVs, the best way of importing it in Unreal is through an Alembic file. I found a technique that works well during my R&D with the particles. That can be found here. To prepare and try to optimize as much as possible, all the attributes except the P and UV are deleted, then it is transformed to fit the Unreal world position.
Export:
Unreal Import:
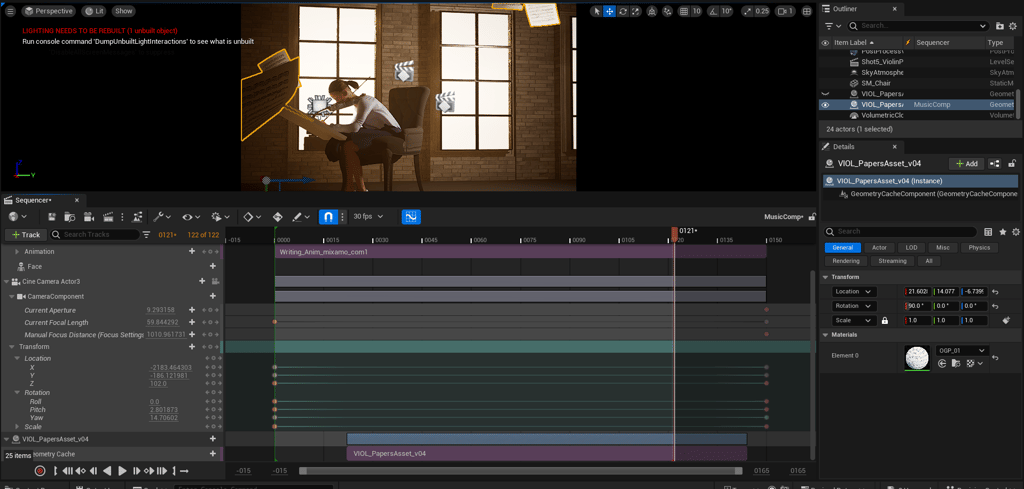
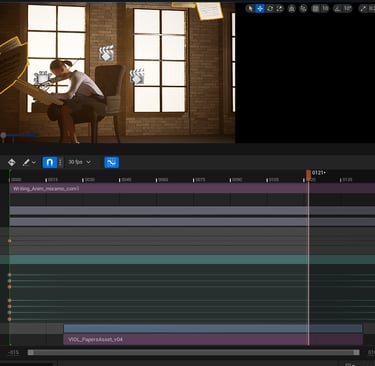
To import, the alembic file needs to be read in as a geometry cache. Then from there, it is imported into the level sequencer. There, the animations can be controlled, unlike VAT exports.
There was some pushing and pulling with the positioning. From there, I could apply the material. Because I did the testing within redshift, the material went on smoothly.
04/03/2024
As I was heading on to this task, I knew a friend, Phirada Kanjanangkulpunt who did something similar with papers flying in the air. See her website here: https://www.phiradavfx.com
I met up with her to get some insight on her technique for the flying papers. She had the objects in the chimney and simulated everything within the vellum solver, including the pop curve force and pop wind within the forces of the solver. This gave me a good start. The biggest difference I wanted to have the vellum interact with the papers one by one dynamically. One paper start to fly and then more papers are affected one by one. This is the challenging bit.
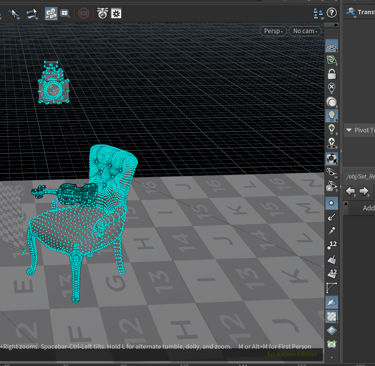
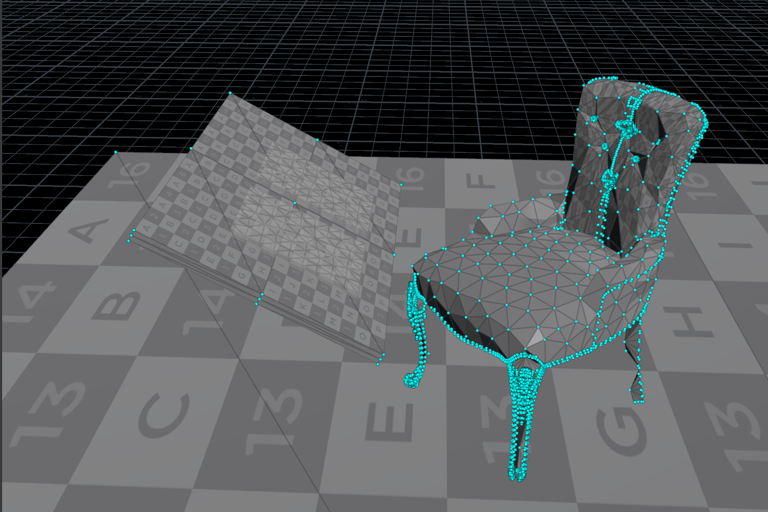
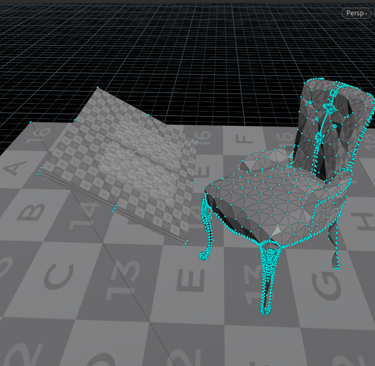
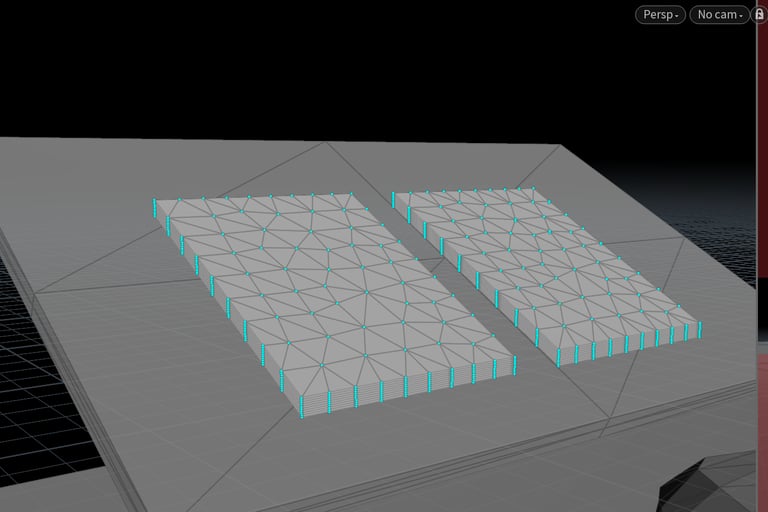
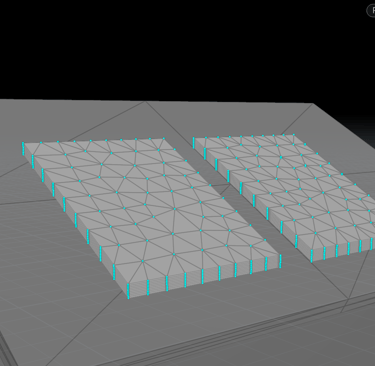
First I needed to clean up the geo that I exported from Unreal. When I was doing preliminary testing, the mesh was making it difficult to move around. I separated each object and remedied accordingly and got rid of any geo that was not needed for collision. This was more to get an accurate measurement of scale.
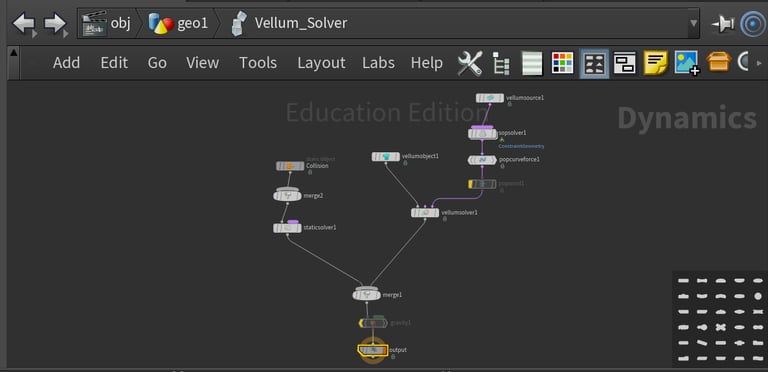
My first thought would was to recreate a vellum solver through a dop network therefore it would be easier to control and would have the simulation evaluate the paper as it is being copied and transformed. It was unsuccessful and after taking some time to try to troubleshoot it, it was taking longer than necessary. It was not optimal for what I was doing and it slowed the calculation time.
I reached out to Kyle Lin, https://kylelinvfx.com, to see if he had any ideas on how I could solve this issue. He suggested to have all of the paper geo present, since we will not see it, and use the stopped attribute to turn off the activation to each paper when it is not being sim. It takes less time to calculate as it does not have to calculate each frame and it is easier to art direct.
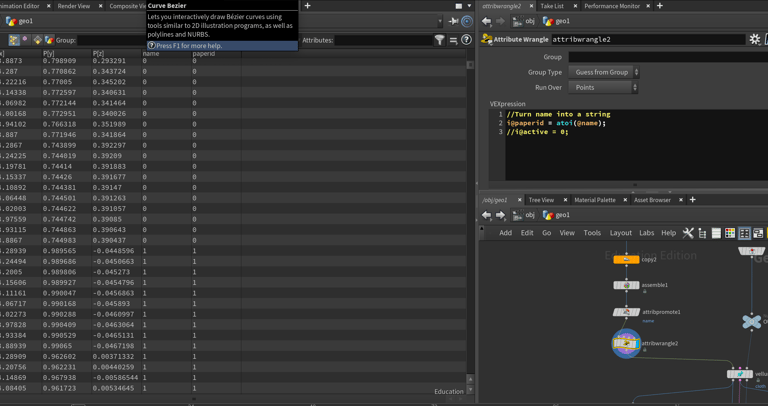
To begin, the geo needs to exist so I copied them using a simple copy and transform node. Then an id attribute needed to be placed on the points of each paper, separating each copy from one another. An assemble node will create a name attribute for each primitive. However, you need the attribute name on the points so an attribute promote will allow you to transfer that attribute to the points. The name attribute is read as a string and needs to be turned into an integer to be used in the vellum solver.
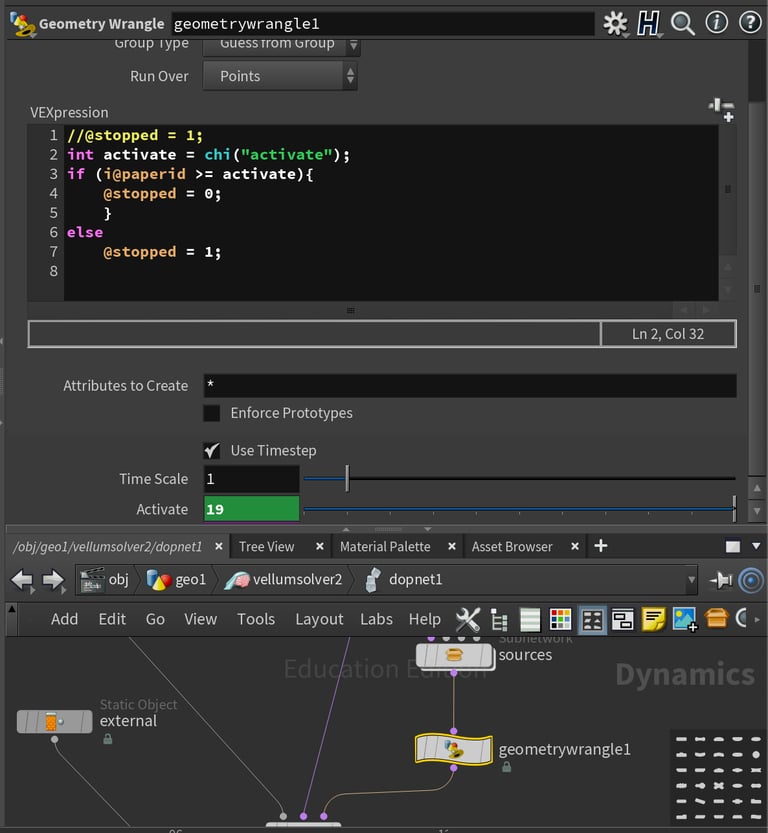
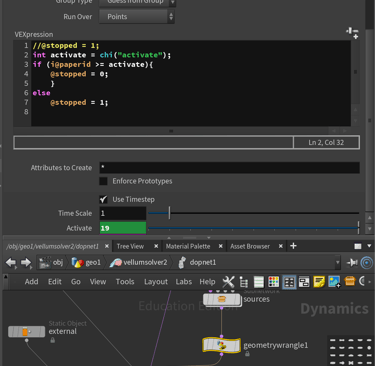


First testing was needed to make sure everything was working the way I wanted it to. A geometry wrangle is added at the vellum source, located in the dopnet that is shown when editing contents is enabled. I made the stopped attribute for each point 1, stopping the sim. Once I got that working, I could create an active attribute. Based on that integer attribute, I could activate individual papers one by one based on their identifier attribute.
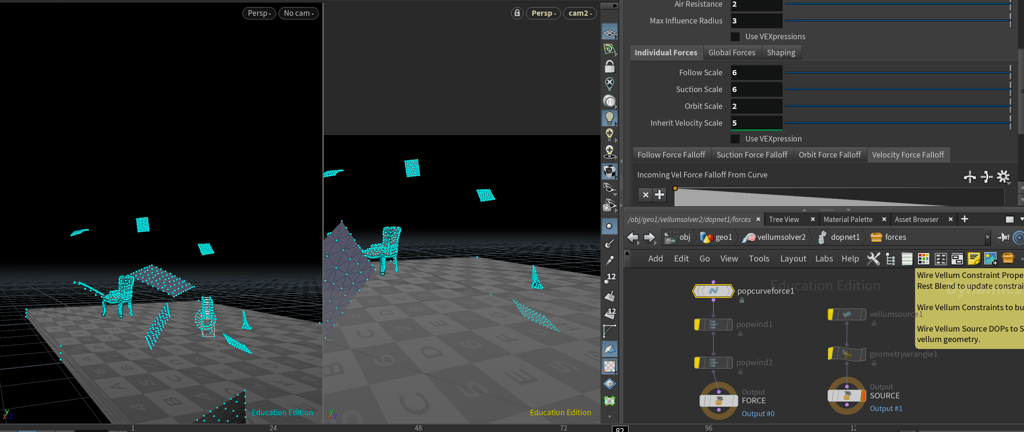
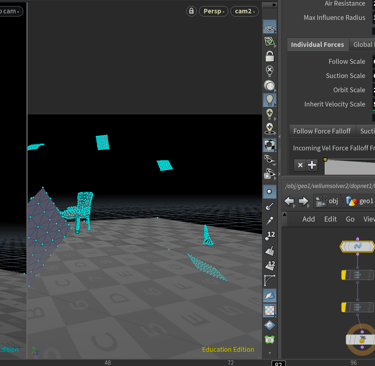
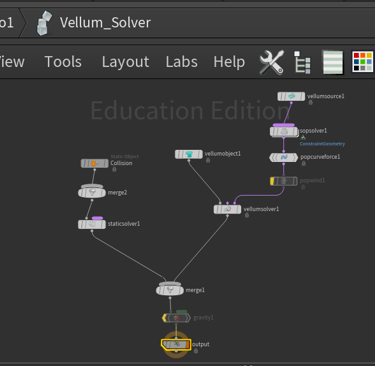
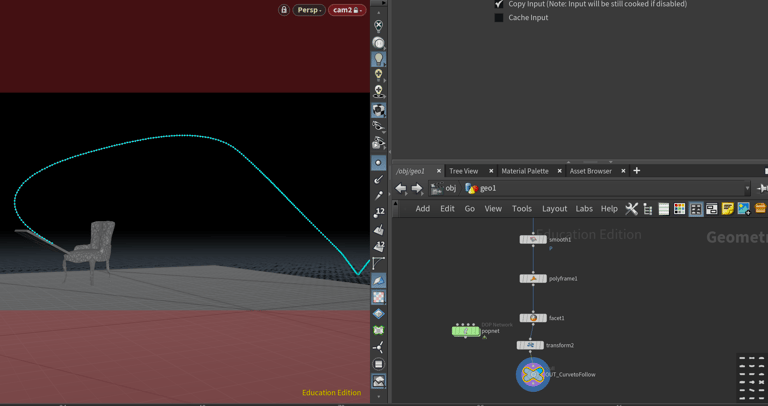
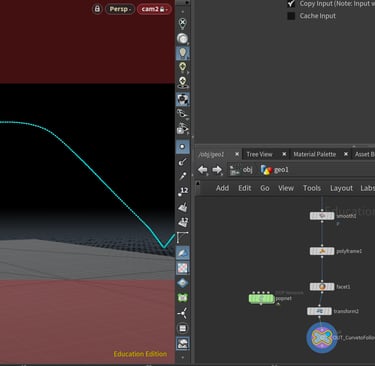
After the attribute is working, I am able to tweak the forces that are applied to the papers. I primarily used a pop curve force that will guide the papers based on a curve that I drew - see on right.
Current Progress shown here:

Popcurveforce:
Stopped Attribute:
Activating and deactivating vellum sim based on attributes:
Cleanup:
Notes and goals:
I would like to explore to make it less linear looking. The papers fly one by one until the end, but even the end looks too linear. The next important step is material techniques,
The next thing on the to-do list is Shot 10. Our main protagonist is writing as the music sheets fly around her as seen here:

References and Resources:

I created something similar in a difference class. It did not have to be as polished, however, the movement is similar to how I would like the papers to fly up and out of her stand. I may take some of the techniques used here to continue for this scene. I would like the papers to flow through the air, using vellum to simulate the way the papers moves so it is not as rigid and sharp.


Great point of references for movement:
https://innie0604.tistory.com/m/entry/Houdini-Papers-Cloth-Simulation?category=410783
